
Introduction
I pulled a Dutch oven short rib recipe straight into my braiser the first time I owned one, added the same amount of liquid the recipe called for, and ended up with a pan of meat swimming in broth that never reduced into a sauce. The recipe wasn’t wrong. The pan just wasn’t the one it was written for.
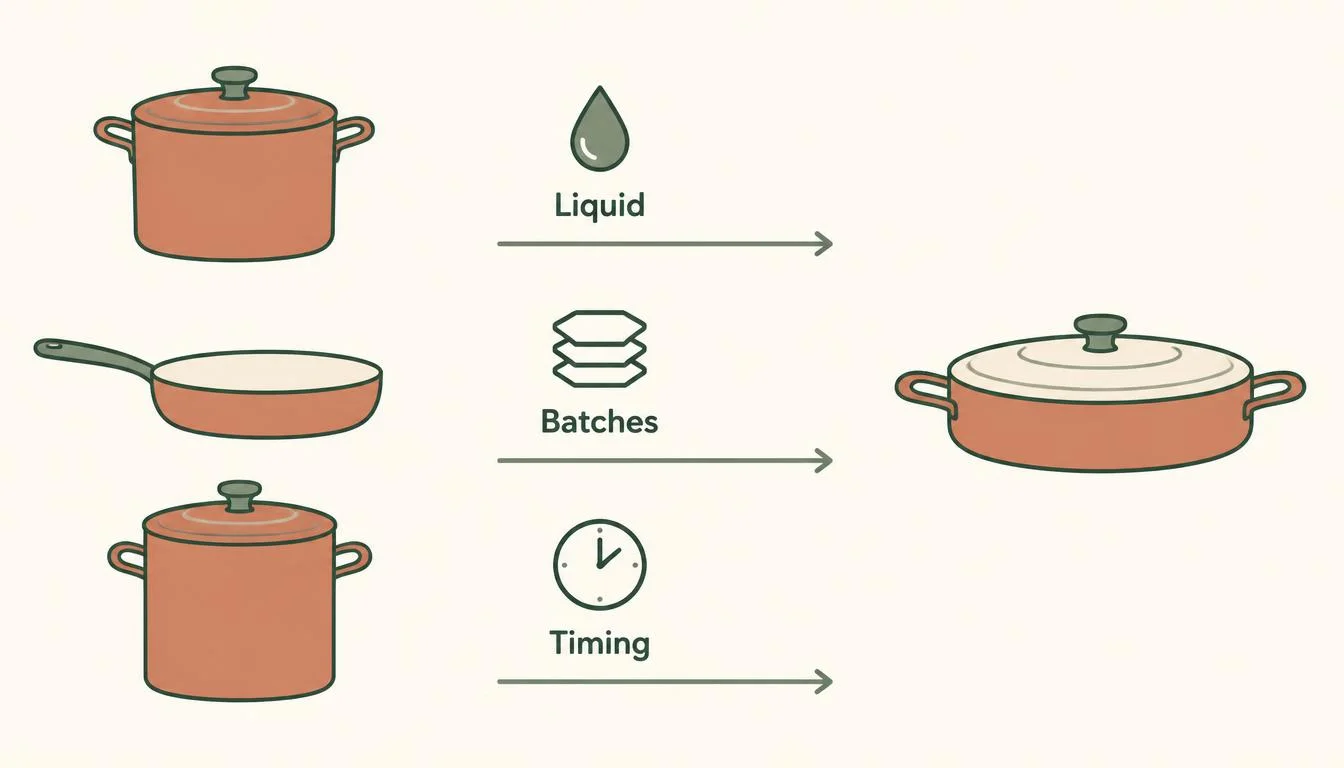
A braiser and a Dutch oven look like cousins, but they solve different problems, and a recipe written for one carries assumptions the other pan doesn’t share. Converting a recipe for a braiser comes down to three adjustments: how much liquid you start with, how many batches you sear in, and when you start checking for doneness. Get those three right and almost any braise, skillet dish, or even a stockpot recipe can move into a braiser without a second thought.
This guide walks through the conversion for each source pot, gives you a quick-reference table to work from, and walks through one full example so you can see the adjustments in action.
To convert a recipe for a braiser: cut the starting liquid by roughly a third, sear in fewer, larger batches since the floor is wider, and start checking for doneness a little earlier than the original recipe says, since a shallow pan loses liquid to evaporation faster than a deep one. Recipes built around a lot of liquid — soups, stews, deep braises — usually work better left in their original pot.
Why a Recipe Written for Another Pot Doesn’t Transfer as Written
The short version: a braiser is wide and shallow, so it exposes more of the liquid’s surface to the air, which means it evaporates and reduces faster than the same amount would in a tall, narrow pot. That single shape difference is behind almost every adjustment in this guide.
A Dutch oven holds heat and liquid deep and close together, which is why a recipe built for one assumes slow, contained reduction over a couple of hours. A braiser spreads that same liquid across a much wider floor. More surface area touching the air means faster evaporation, which is good news for a pan sauce that needs to concentrate quickly, but it also means a recipe that expects two hours of gentle simmering can dry out well before that if you don’t account for it.
The same logic works in reverse for browning. A braiser’s wide floor is built to fit a full batch of chicken thighs or short ribs in a single layer, so a recipe written for a narrower pot — where you’d normally sear in two or three rounds — often only needs one round in a braiser.
The Four-Step Conversion Checklist
Run any recipe through these four checks before you start cooking. This works whether the recipe was written for a Dutch oven, a skillet, or a stockpot.
Check the liquid volume. A braiser’s wide floor speeds up evaporation, so a recipe written for a deeper pot will usually cook down faster than expected. Start by holding back some of the liquid — you can always add more partway through, but you can’t easily un-reduce a sauce that’s gone too far.
Check the batch size. A braiser’s floor is wider than most skillets and many Dutch ovens, so food that needed two or three searing rounds elsewhere often fits in one layer here. Sear in as few batches as the floor allows, since crowding the pan is what causes steaming instead of browning, regardless of which pot you’re using.
Check the total liquid depth the recipe calls for. A braiser’s walls are shallow by design. If the recipe wants the liquid to fully submerge the food — as most soups and stews do — that’s a sign the dish is better left in its original pot rather than converted.
Check in earlier than the recipe says. Because liquid reduces faster in a braiser, start checking doneness and sauce consistency ahead of the time the original recipe gives you. A recipe timed for a deep pot’s slower reduction can leave you with a scorched pan bottom if you walk away for the full stated time in a braiser.
Converting a Dutch Oven Recipe
Most Dutch oven recipes convert well, because both pans share the same enameled cast iron cooking logic — sear, then simmer covered. The adjustment is almost entirely about liquid and batching.
Start by cutting the liquid the recipe calls for by about a third, then add more toward the end only if the dish looks dry before the meat is tender. Since a braiser’s floor is wider than most Dutch ovens, you can usually brown a full batch of chicken thighs, short ribs, or meatballs in one round instead of splitting it into two or three, which also means the whole dish comes together faster overall.
Recipes that lean on a Dutch oven’s depth — a soup, a large pot of chili, or bread baked inside the pot — don’t translate well here. Those need the vertical space a braiser doesn’t have. For the full comparison between the two pans, see my guide to choosing between a Dutch oven and a braiser, and if you’re deciding whether a Dutch oven is the better fit for your kitchen in the first place, here’s my full breakdown of Dutch ovens.
Converting a Skillet Recipe
A skillet recipe is missing something a braiser has built in: a lid. That’s the main gap to fill when you move a skillet dish over.
Most skillet recipes are written for a quick sear or sauté with no covered simmering stage at all. When you convert one to a braiser, add a short covered stage after the initial sear — even five to ten minutes with the lid on will finish thicker cuts more evenly than an uncovered skillet can, since the trapped steam does some of the cooking for you. If the original recipe includes any liquid at all — wine, stock, a splash of citrus for deglazing — that’s your starting point; you generally won’t need to add much beyond it, since the braiser’s lid holds onto moisture the open skillet was never designed to keep.
Skillet recipes built around a hard, fast sear with no sauce — a quick weeknight stir-fry, for instance — don’t gain much from the switch and are often better left in a skillet.
Converting a Stockpot Recipe
This is the biggest adjustment of the three, because stockpot recipes are built around a lot of liquid and a braiser simply doesn’t hold as much.
Cut the liquid significantly — often by half or more, depending on the recipe — and expect to work in smaller batches, since a stockpot recipe is usually sized for a larger quantity of food than a braiser’s floor can comfortably sear in one round. A stockpot recipe built for soup, stock, or a big batch of stew usually isn’t a good candidate for conversion at all; the dish depends on a volume of liquid a braiser’s shallow walls can’t safely hold without spilling over during a simmer.
Where this conversion works best is with stockpot recipes that are really braises in disguise — a big-batch braised meat dish with a modest amount of liquid relative to the meat, for example. If that’s not what you’re working with, my stockpot buying guide covers when a stockpot’s depth and capacity are actually the right tool for the job.
| Original Pot | Liquid Adjustment | Batch Adjustment | Timing Adjustment | Watch For |
|---|---|---|---|---|
| Dutch oven | Cut by about a third | Often fits in one sear instead of two to three | Check 15-20 minutes earlier than stated | Recipes needing full submersion (soups, bread) don’t convert well |
| Skillet | Use what the recipe already calls for; rarely needs more | Usually no change | Add a short covered stage after searing | Dry, quick-sear dishes with no sauce gain little from converting |
| Stockpot | Cut by half or more | Split into smaller batches | Check well before the original time | Large-liquid recipes (soup, stock) should stay in the stockpot |
A Worked Example: Short Ribs, Dutch Oven to Braiser
Here’s how the checklist plays out on an actual dish. Take a short rib recipe written for a Dutch oven that calls for searing the ribs in two batches, then covering them in beef stock and red wine and simmering for two hours.
Sear first, and check the batch size. A braiser’s wider floor usually fits all the short ribs in one layer, so instead of two rounds, I sear them all at once.
Cut the liquid, and hold some back. I start with about two-thirds of the stock and wine the recipe calls for, since the wider surface will reduce it faster than the original pot would.
Cover and simmer, but check in early. Rather than waiting the full two hours before checking, I look in around the ninety-minute mark. If the liquid has reduced more than expected, I add a splash more stock; if the ribs are already tender, I pull the lid and let the sauce reduce the rest of the way uncovered.
Finish uncovered. The last stretch — reducing the sauce to the right consistency — usually goes faster in a braiser than the original recipe’s timing suggests, simply because there’s more surface area for the liquid to evaporate from.
When Not to Convert a Recipe for a Braiser
Some recipes are better left in their original pot, and forcing the conversion just makes more work for you. Skip converting anything that depends on a large volume of liquid staying in the pot — soup, stock, or a stew meant to serve a crowd will overflow a braiser’s shallow walls long before it’s done. The same goes for bread baked inside a covered pot, which needs the tall, enclosed space a braiser doesn’t have, and true deep-frying, which needs oil depth a shallow pan can’t safely provide.
If a recipe’s main appeal is a lot of standing liquid rather than a hard sear followed by a shallow simmer, that’s your sign to reach for the original pot instead.
FAQ
Can I use a braiser instead of a Dutch oven for any recipe?
Not for every recipe. Braises, roasts, and sauce-based dishes with a moderate amount of liquid convert well. Soups, stocks, and bread recipes that need a lot of liquid or a tall, enclosed space are better left in a Dutch oven.
How much should I reduce the liquid when using a braiser?
Start by cutting the liquid by about a third for a Dutch oven recipe, or by half or more for a stockpot recipe. You can always add more partway through if the dish looks dry before the food is done.
Do I need to sear in more batches with a braiser or fewer?
Usually fewer. A braiser’s wide floor fits more food in a single layer than most skillets or Dutch ovens, so recipes that call for searing in two or three rounds often only need one in a braiser.
Can a stockpot soup recipe work in a braiser?
Generally no. Soup and stock recipes are built around a volume of liquid that a braiser’s shallow walls can’t hold without risking a spill during a simmer. Keep those in the stockpot.
Does a braiser cook faster than a Dutch oven?
The sauce reduces faster because the wide floor exposes more liquid to the air, but the meat itself still needs the same time to become tender. Check in earlier than the original recipe says so the sauce doesn’t reduce past where you want it.
Conclusion
Converting a recipe for a braiser isn’t complicated once you know what to look for: less starting liquid, fewer searing batches, and an earlier check-in than the original recipe expects. Most Dutch oven and skillet recipes make the switch easily. Stockpot recipes need more judgment, and some dishes — anything built around a lot of standing liquid — are simply better left where they are. Once you’ve made the adjustment a couple of times, reading any recipe through a braiser’s shape becomes second nature.

Hi, I’m Muhammad Din. I test and compare kitchen tools in my own kitchen before I ever recommend them — if it’s in a guide on HomePlora, I’ve used it or dug deep enough to know exactly where it holds up and where it doesn’t. My goal is simple: help you find tools that actually earn a spot in your kitchen, without wasting money on ones that don’t.