
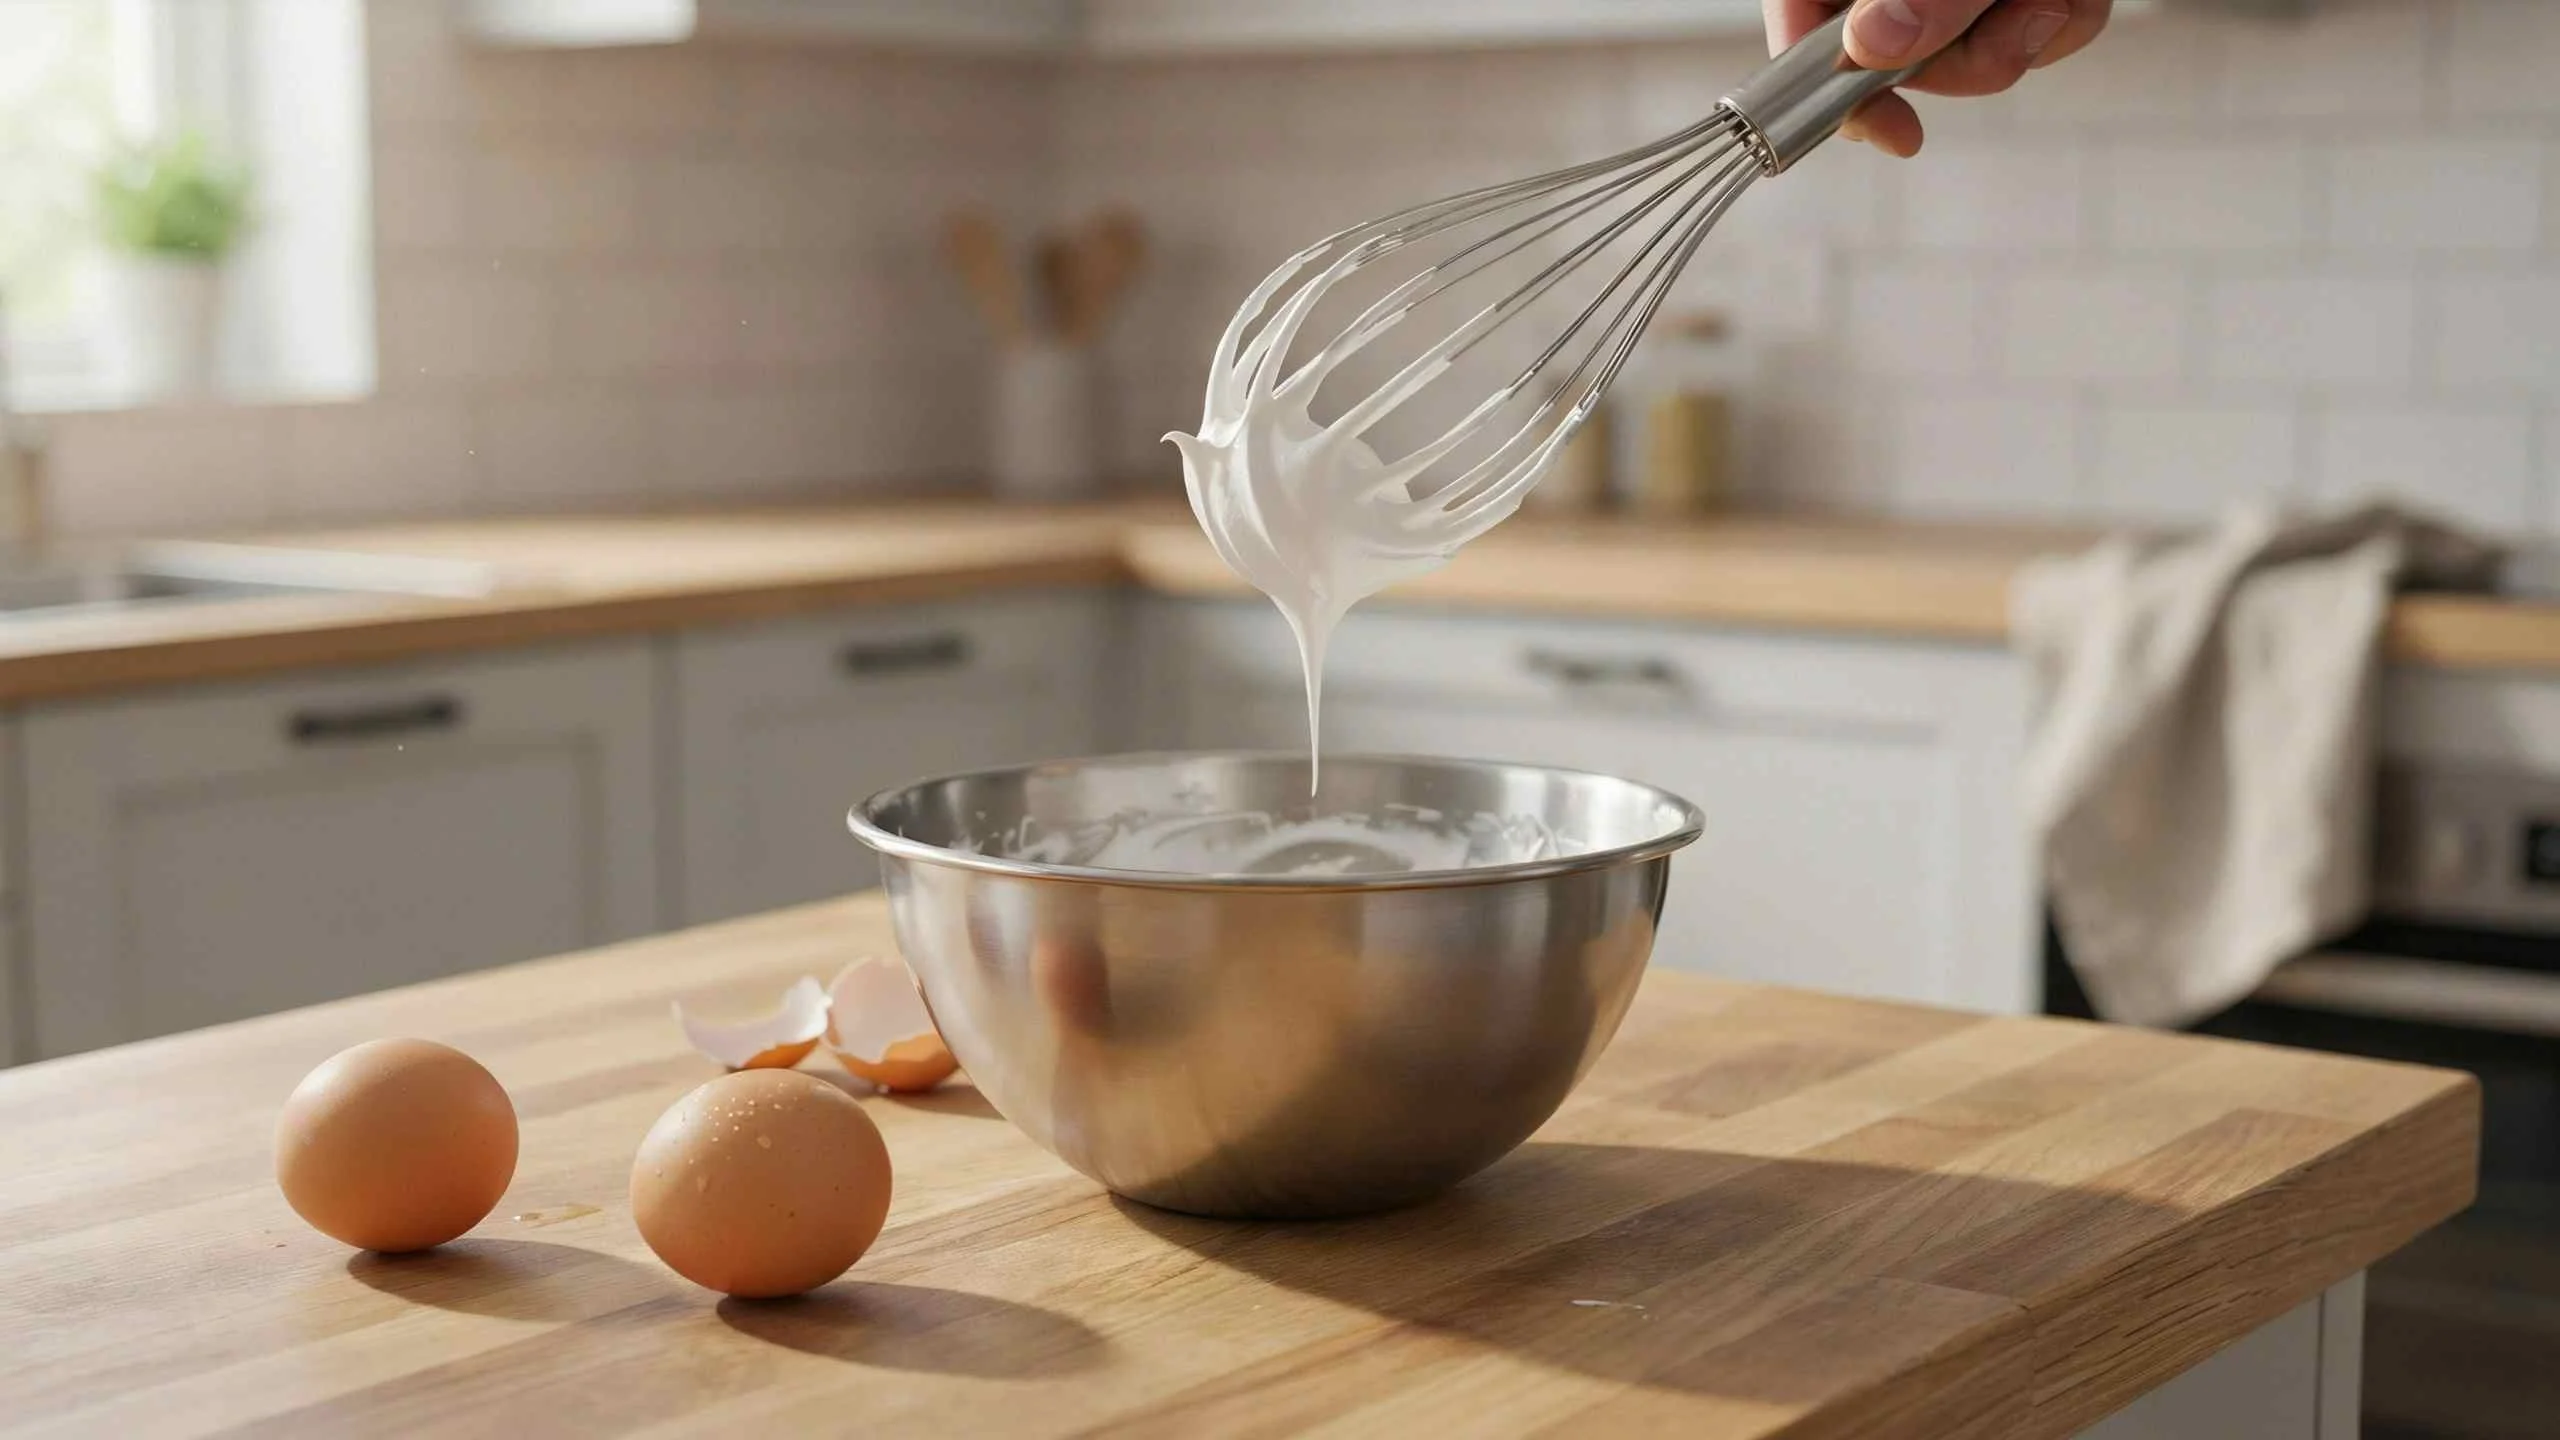
If you’ve searched this question, you’ve probably found two confident, opposite answers: “use room temperature eggs” and “use cold eggs.” Both are right. They’re answers to two different steps, not one decision.
Separate your eggs cold, straight from the fridge. Then let the whites sit at room temperature for 20 to 30 minutes before you whip them. That’s the whole rule. Cold protects the separation. Room temperature protects the volume. Skip either half and you end up either fighting a broken yolk or whipping a meringue that never climbs past soft peaks.
Here’s why both halves matter, what’s actually happening inside the egg at each stage, and the exact order that gets you clean whites and maximum volume out of the same carton.
Why This Question Has Two Right Answers
Most advice treats “cold or room temperature” as a single fork in the road, when it’s really two separate physical tasks wearing one question’s clothing. One task is separating: keeping the yolk’s membrane intact so it never touches the whites. The other is whipping: getting the egg white proteins to loosen up and trap air efficiently.
A recipe writer thinking about the first task tells you to use cold eggs. A pastry source thinking about the second tells you to use room temperature ones. Neither is wrong — they’re each describing one half of the same egg’s trip from carton to finished meringue. The confusion clears up the moment you stop asking “cold or warm” and start asking “cold or warm, for which step.”
The Science: What Warming Actually Does to an Egg White
Egg white is mostly water and protein, with ovalbumin doing most of the structural work, alongside a handful of supporting proteins. Cold, these protein molecules sit tightly folded into compact shapes. They resist unwinding. As the whites warm toward room temperature, those folded structures relax and start to open up, exposing more surface area that can grab onto air bubbles and bond to each other.
That’s the actual mechanism behind “whipping to greater volume.” Warmth doesn’t add air — it makes the protein network more willing to stretch around the air you’re beating in. Whip cold whites and you’re asking tightly wound, reluctant proteins to do the same job. They’ll get there eventually, but slower, and the foam they build holds less air at its peak than a room-temperature batch would.
Prove It Yourself: A Two-Minute Kitchen Test
You don’t have to rely on claims alone. Crack two eggs and separate both while they’re cold. Put one bowl of whites straight into the mixer. Cover the second bowl and let it sit on the counter for 20 minutes. Whip both on the same speed — side by side if you’ve got two mixers, or one right after the other with a timer running.
You don’t need lab equipment to see the difference. The room-temperature batch climbs into soft peaks noticeably faster, then keeps building past that point into a tall, glossy structure that holds a firm, stiff peak. The cold batch gets there eventually, but it takes real patience, and even at its best, the foam sits lower in the bowl. Watch this happen once, side by side, and the protein science above stops being a fact you read and becomes something you’ve actually seen.
Why Cold Eggs Separate Cleaner
The yolk holds its round shape because of a thin protein film called the vitelline membrane. Cold, this membrane firms up and resists rupturing when it brushes against a shell edge or a separator tool. At room temperature, the same membrane softens and tears more easily — which is exactly the moment a trace of yolk fat ends up in your whites and blocks the whole foam-building process described above.
This is why separating cold isn’t optional, no matter what you do afterward with temperature for whipping. If you’re using a dedicated tool rather than the shell-to-shell method, our tested picks for the best egg separator cover which designs actually hold up to repeated use without nicking the yolk — because a tool that breaks the membrane defeats the purpose regardless of how carefully you handle everything else.
The Correct Method, Step by Step
- Separate eggs cold, straight from the refrigerator. Cold firms the yolk’s membrane, so it holds together through the crack instead of rupturing into the white.
- Move the whites into a clean, dry bowl and cover them. Covering keeps out stray fat, moisture, and the thin skin that forms on exposed egg white, so the whites stay whip-ready while they wait.
- Let the covered whites rest at room temperature for 20 to 30 minutes. This gives the proteins time to relax and unfold, which is the exact state they need to be in to whip fastest and highest.
- Whip only once the whites feel closer to room temperature than fridge-cold. Starting early wastes the resting time you just gave them and leaves volume on the table.
- Never shortcut the rest with a microwave, warm water bath, or hot tap water. Fast, uneven heating cooks the edges of the whites before the center catches up. Proteins that get heated too quickly seize instead of unfolding, and they won’t whip properly afterward no matter how long you beat them.
When Cold Whites Are Actually Fine
This rule has real exceptions, and an honest guide should say so.
Swiss and Italian meringue both heat the whites directly during the process — over a double boiler, or with a stream of hot sugar syrup — so the starting temperature barely matters by the time you’re done. Whatever head start room temperature would have given gets overridden by the heat you’re adding anyway.
Meringue-based buttercream is a different case worth knowing: if the meringue base is too cold when you fold in soft butter, the temperature shock can seize the butter into a broken, curdled mixture. Here, starting a little warmer than usual actually helps, not just ending warmer.
And if what you’re after is a very stable foam that holds sharp points overnight — piped meringue shells, for instance — rather than the tallest possible peak, a slightly denser, cold-whipped foam sometimes holds its shape with less risk of weeping later. Maximum volume isn’t always the goal. Know which one your recipe is actually asking for before you default to room temperature out of habit.
The Real Reasons Meringue Fails (Beyond Temperature)
Plenty of “my meringue won’t whip” problems have nothing to do with temperature at all.
Even a tiny smear of egg yolk coats the egg white proteins with fat, preventing them from forming the strong structure needed for whipping. That means the whites may never reach full volume, even if they’re at the ideal temperature. This is the other reason separating with a reliable method matters as much as resting time does. A good separator removes this risk from the equation entirely, rather than leaving it to a steady hand.
Plastic bowls hold onto an invisible film of grease from past use, even after a normal wash, and that film does the same damage as yolk fat. Glass, stainless steel, or a ceramic or metal mixing bowl rinsed with a little vinegar or lemon juice beforehand gives the whites a genuinely clean surface to build foam against.
Humidity works against you too. Sugar pulls in moisture from the air, so whipping or baking meringue on a humid or rainy day can leave it sticky or unable to fully set, independent of how carefully you handled the eggs.
Quick Reference: How Long to Rest Your Eggs
| Starting Point | Rest Time Needed |
|---|---|
| Straight from the fridge | 20–30 minutes, covered, on the counter |
| Already sitting out a while | Touch the bowl — proceed once it no longer feels cool |
| Kitchen already warm (summer, near the oven) | 10–15 minutes is usually enough |
Troubleshooting
My whites won’t build volume even after resting. This is more often fat contamination than a temperature problem — a fleck of yolk, or a bowl and whisk that aren’t as grease-free as they look. Wipe both down with a little vinegar or lemon juice on a paper towel before starting over.
My meringue looked great but wept liquid later. Usually means it was slightly underwhipped, or sugar was added too fast before the whites reached soft peaks. It can also happen with very fresh eggs — fresh whites are thicker and can look impressive going in, but they’re often less stable once whipped than whites that are three or four days old. That’s a genuine tradeoff, not a mistake to fight.
Advanced tip: whipping in a copper bowl produces a noticeably more stable foam, because copper ions bond with one of the egg white’s proteins during whipping. Professional pastry kitchens have used this trick for exactly that reason, independent of anything you do with temperature.
FAQ
Should egg whites be room temperature or cold for meringue?
Both, at different steps. Separate cold for a clean, yolk-free split, then rest the whites at room temperature for 20 to 30 minutes before whipping for full volume.
How long should egg whites sit out before whipping?
20 to 30 minutes covered on the counter is enough for whites straight from the fridge to reach full whipping potential.
Can you whip cold egg whites for meringue?
Yes, but it takes noticeably longer to reach stiff peaks, and the finished foam holds less volume than one whipped at room temperature.
Does starting temperature matter the same way for Swiss or Italian meringue?
Less so. Both methods heat the whites directly during the process, over a double boiler or with hot sugar syrup, which evens out most of the difference a cold start would otherwise cause.
What happens if egg whites get too warm before whipping?
Whites left out too long, or heated unevenly and too fast, can start breaking down structurally before you even start whipping. Resting at room temperature and heating over a double boiler are different things — one relaxes the proteins, the other risks cooking them.
Conclusion
Room temperature eggs for meringue isn’t really the question. The real rule is a sequence: separate cold to protect the yolk, then rest the whites warm to unlock full volume. Get that order right, back it with a clean separating method and a genuinely grease-free bowl, and the rest of the recipe takes care of itself. For the full lineup of tools that make each step easier, our kitchen baking utensils guide rounds out everything else worth having on hand before your next batch.

Hi, I’m Muhammad Din. I test and compare kitchen tools in my own kitchen before I ever recommend them — if it’s in a guide on HomePlora, I’ve used it or dug deep enough to know exactly where it holds up and where it doesn’t. My goal is simple: help you find tools that actually earn a spot in your kitchen, without wasting money on ones that don’t.